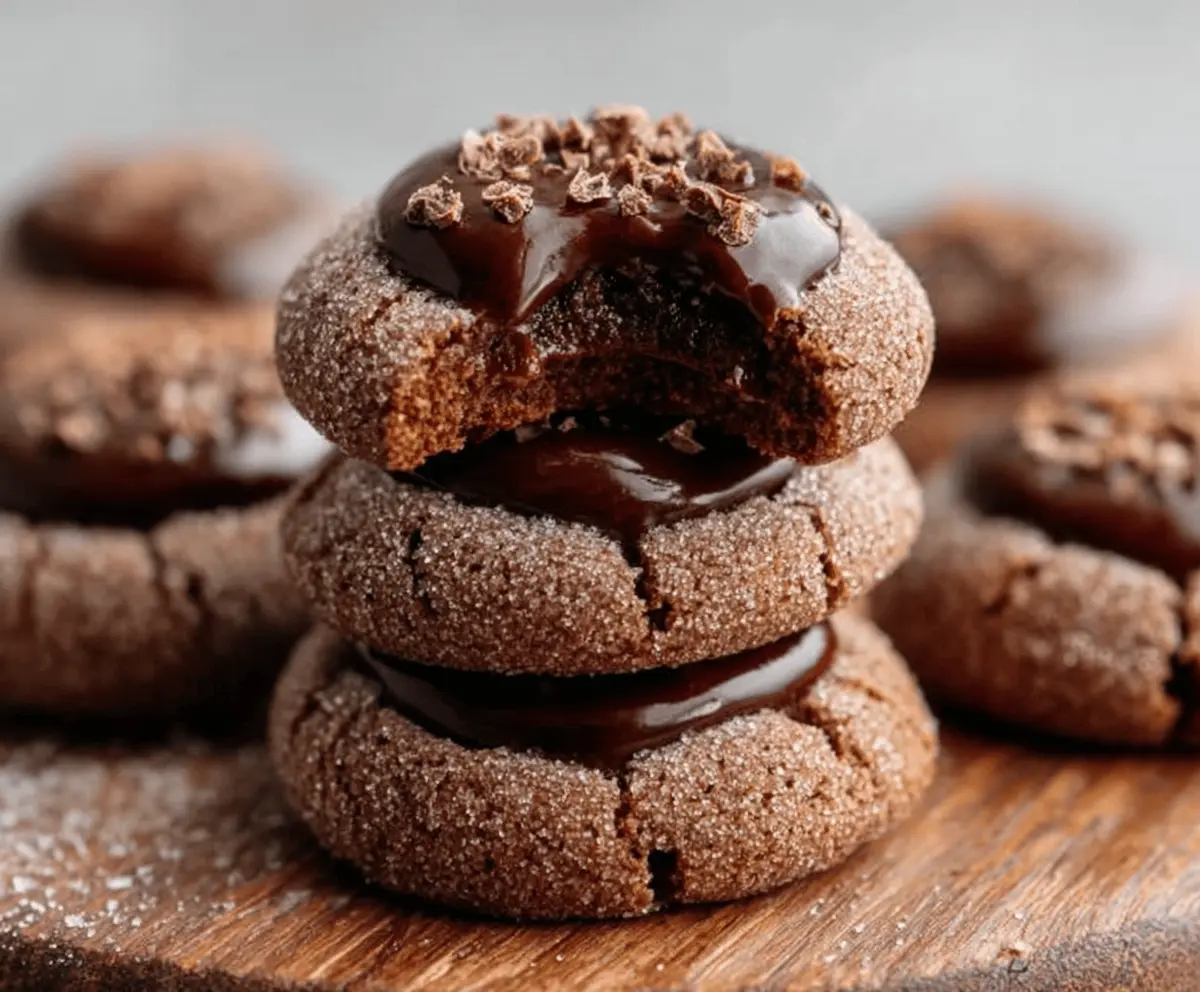
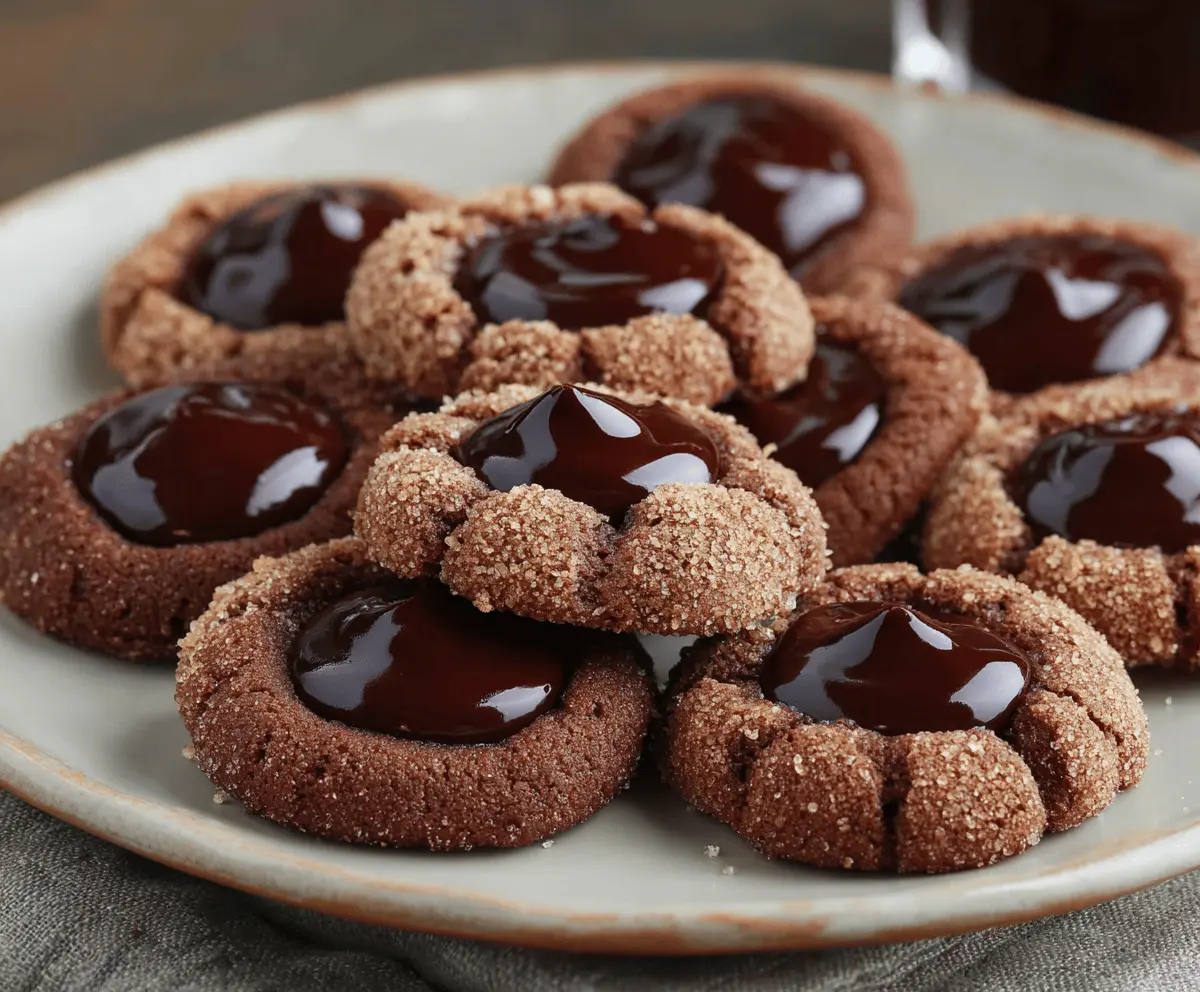
Chocolate Thumbprint Cookies are little bites of chocolate goodness with a soft, buttery base and a little well in the center filled with your favorite jam or chocolate spread. They have this wonderful mix of rich cookie dough and a sweet, fruity or chocolaty surprise right in the middle, making them a fun treat to bite into.
I love making these cookies because they bring out everyone’s inner kid with that thumbprint press making the perfect little cup for jam. I usually use raspberry or strawberry jam for a nice pop of tartness that balances the chocolatey cookie. Plus, it’s so satisfying to make those perfect little indentations and then fill them up before baking.
These cookies are great for sharing, especially around the holidays or during cozy coffee breaks. I like to package them up in a cute tin or wrap them up as a homemade gift. Nothing feels better than giving someone a sweet little cookie with your own special touch.
Key Ingredients & Substitutions
Butter: Unsalted butter gives the best control over saltiness and helps create tender, rich cookies. You can use salted butter but reduce added salt slightly.
Sugar: Using both granulated and brown sugar adds sweetness plus a little chewiness from the brown sugar. If you want a lighter cookie, try all granulated sugar.
Cocoa powder: Unsweetened cocoa powder adds deep chocolate flavor without extra sweetness. Dutch-processed cocoa can be used for a smoother taste.
Chocolate filling: Semi-sweet chips or chopped chocolate melt well for the gooey center. For a vegan alternative, use dairy-free chocolate chips and coconut cream.
How Do You Make Perfect Thumbprints That Hold Their Shape?
Making that perfect thumbprint is key to these cookies. Here’s how to get a nice well that holds filling without losing shape:
- Roll dough into smooth balls to avoid cracks.
- Press gently but firmly with your thumb or back of a spoon right before baking.
- Don’t press too deep or too shallow; aim for a shallow cup to hold filling well.
- If dough cracks after pressing, chill it briefly to firm up before baking.
Pressing just before baking helps the cookie ‘set’ around the indentation for a neat filled center.
Equipment You’ll Need
- Mixing bowls – I use them to combine ingredients easily and keep everything organized.
- Electric mixer or whisk – makes creaming butter and sugars quick and smooth.
- Measuring cups and spoons – for accuracy, so your cookies turn out just right.
- Silicone baking mats or parchment paper – helps cookies release easily and keeps them from sticking.
- Cookie scoop or tablespoon – helps shape uniform cookies for even baking.
- Small spoon or piping bag – for filling the thumbprints with melted chocolate.
- Double boiler or microwave-safe bowls – makes melting chocolate smooth and mess-free.’
Flavor Variations & Add-Ins
- Use dark or milk chocolate instead of semi-sweet for different richness levels.
- Mix in chopped nuts or crushed cookies into the dough for added crunch and flavor.
- Replace raspberry jam with caramel or hazelnut spread for a different sweet surprise.
- Top with a sprinkle of sea salt or sprinkle with crushed peppermint for a special touch.
Chocolate Thumbprint Cookies
Ingredients You’ll Need:
- 1 cup (2 sticks) unsalted butter, softened
- ½ cup granulated sugar (plus extra for rolling)
- ¼ cup brown sugar, packed
- 1 large egg
- 1 teaspoon vanilla extract
- 1 ¾ cups all-purpose flour
- ½ cup unsweetened cocoa powder
- ½ teaspoon baking powder
- ¼ teaspoon salt
- ½ cup semi-sweet chocolate chips or chopped chocolate (for filling)
- 2 tablespoons heavy cream (for filling)
- Optional: chopped chocolate or cocoa nibs for garnish
How Much Time Will You Need?
This recipe takes about 15 minutes to prepare, 10-12 minutes to bake, and another 15-30 minutes to let the chocolate filling set. In total, you’ll spend around 45-60 minutes from start to finish, including cooling time.
Step-by-Step Instructions:
1. Get Ready:
Preheat your oven to 350°F (175°C). Line two baking sheets with parchment paper or silicone baking mats to keep your cookies from sticking.
2. Mix the Dough:
In a large bowl, use an electric mixer to cream together the softened butter, granulated sugar, and brown sugar on medium speed until the mixture is light and fluffy—about 3 to 4 minutes. Add the egg and vanilla extract and beat until combined.
3. Combine Dry Ingredients:
In another bowl, sift together the flour, cocoa powder, baking powder, and salt. Slowly add this to the wet ingredients, mixing on low speed just until everything comes together.
4. Shape the Cookies:
Roll the dough into 1-inch balls. Roll each ball in extra granulated sugar to coat it evenly, then place the balls about 2 inches apart on your prepared baking sheets.
5. Make the Thumbprints:
Press gently but firmly into the center of each dough ball with your thumb or the back of a spoon, creating a small well to hold the filling.
6. Bake:
Bake the cookies for 10 to 12 minutes, until the edges are set but the centers still feel soft. Let them cool on the baking sheet for about 5 minutes.
7. Prepare the Chocolate Filling:
While the cookies are baking, melt the chocolate chips and heavy cream together. You can do this using a double boiler or microwave in short bursts, stirring often until the mixture is smooth and glossy.
8. Fill the Cookies:
Once the cookies are cool enough to handle but still warm, spoon or pipe the melted chocolate into each thumbprint well. If you like, sprinkle some chopped chocolate or cocoa nibs on top for added texture.
9. Let the Filling Set:
Allow the chocolate filling to firm up before serving. You can leave them at room temperature for about 30 minutes, or chill in the fridge for 10-15 minutes.
10. Store and Enjoy:
Keep your delicious cookies fresh in an airtight container. They’ll stay great at room temperature for up to 4 days or in the fridge for up to a week.
Can I Use Frozen Butter for This Recipe?
It’s best to use softened butter for easy creaming and proper texture. If your butter is frozen, thaw it in the fridge overnight and bring it to room temperature before mixing.
Can I Substitute Jam or Other Fillings?
Absolutely! You can swap the chocolate filling for your favorite jam, caramel, or nut butter. Just fill the thumbprints after baking and allow the filling to set as needed.
How Should I Store Leftover Cookies?
Store the cookies in an airtight container at room temperature for up to 4 days. If you want them to last longer, refrigerate for up to a week, but bring them back to room temperature before serving for the best taste.
Can I Make the Dough Ahead of Time?
Yes! You can prepare the dough and refrigerate it wrapped tightly for up to 48 hours. When ready, roll, press, and bake as usual.