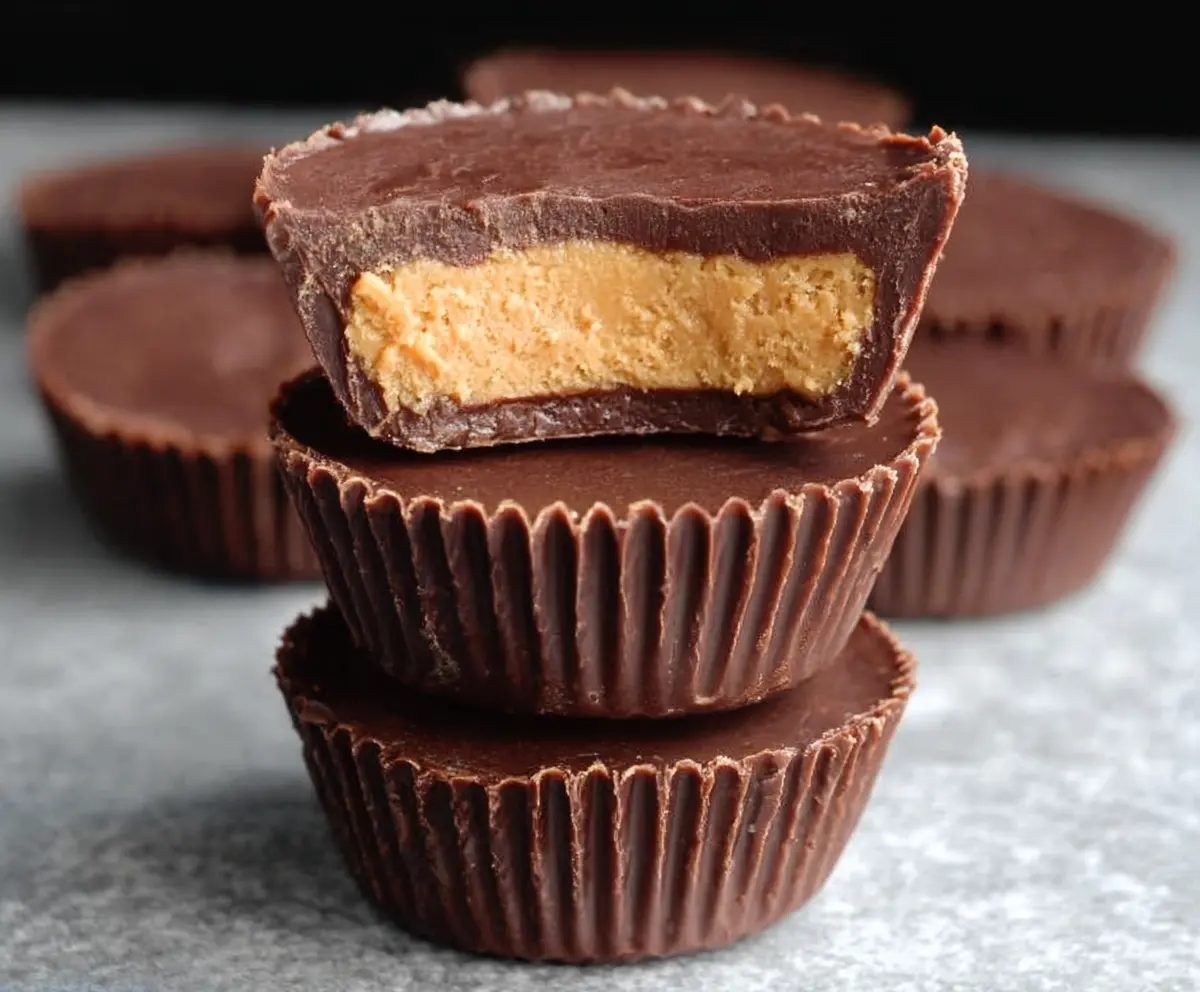
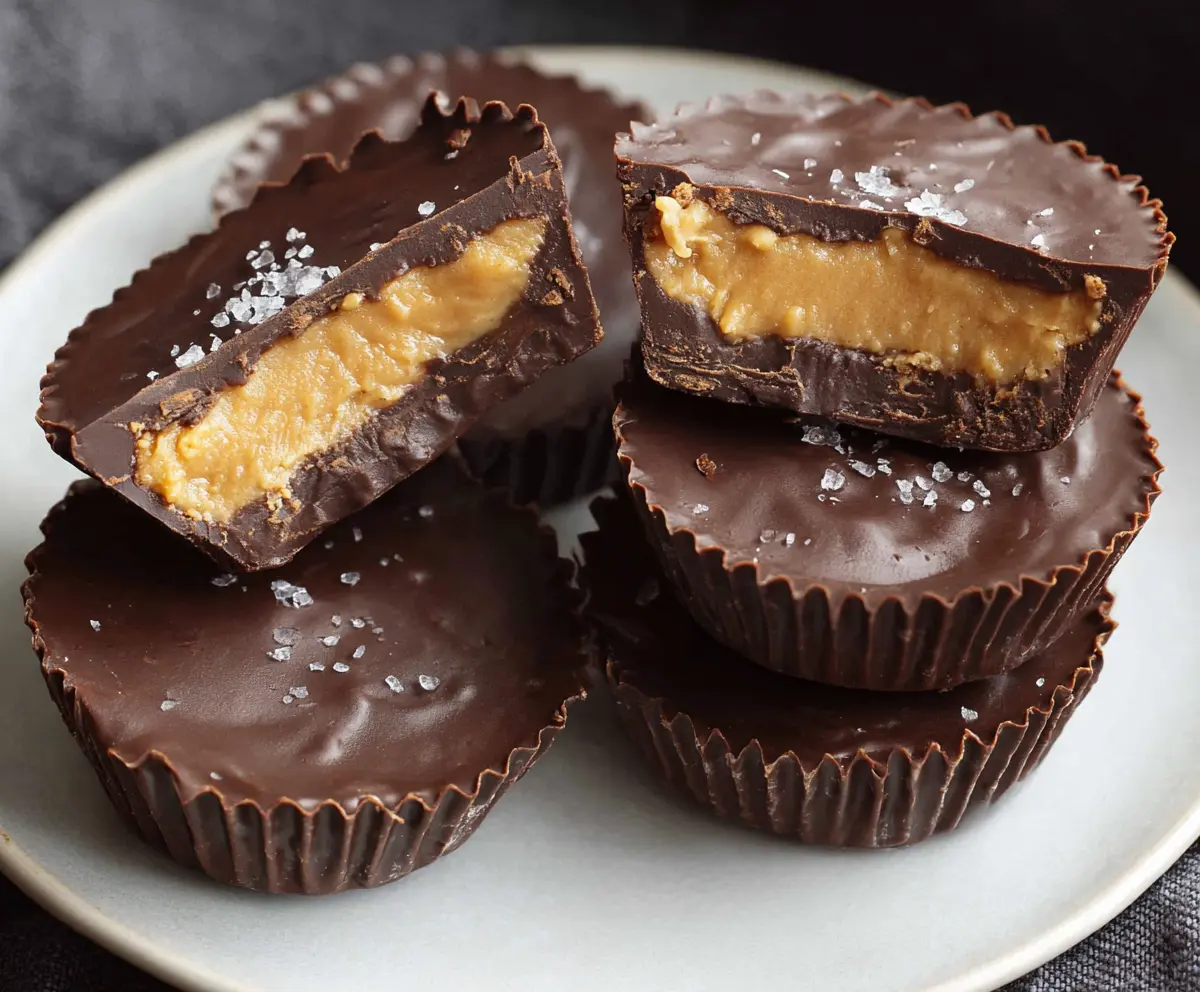
Classic Homemade Reese’s Peanut Butter Cups are a sweet and simple treat that bring together rich chocolate and creamy peanut butter in every bite. These cups have a smooth chocolate shell hugging a soft, peanut butter center that’s just the right mix of salty and sweet. They’re perfect if you love those classic candy flavors but want to make them fresh at home.
I love making these at home because you can really control how much peanut butter filling you want, and it feels so satisfying to unwrap something you made yourself. A little tip I have is to chill them well before unwrapping—this helps them stay firm and keeps the chocolate shiny. Plus, you can experiment with crunchy or smooth peanut butter depending on your mood.
They’re great for a quick treat after dinner or to pack in lunchboxes as a fun surprise. I especially like sharing these homemade cups with friends because they’re a reminder of those store-bought candies but way better because they’re made with love (and fewer additives). If you’re a peanut butter fan, this recipe is definitely a winner in my book!
Key Ingredients & Substitutions
Chocolate Chips: Semisweet chocolate gives a nice balance of rich and sweet. You can use milk chocolate for a creamier, sweeter flavor or dark chocolate if you prefer less sweetness. Just pick a good quality chocolate for the best texture and taste.
Peanut Butter: Creamy peanut butter works best for a smooth filling. If you like a bit of crunch, crunchy peanut butter is a great alternative. Choose natural peanut butter if you want less sugar but note it might be a little softer.
Powdered Sugar: This helps sweeten and thicken the peanut butter filling. If you’re avoiding sugar, you can try a powdered sugar substitute, but the texture might change slightly.
Butter: Adds richness and helps the filling set firmly. If you need a dairy-free option, use coconut oil or a non-dairy butter substitute, though flavor may vary.
How Do You Get a Smooth, Firm Chocolate Shell Without Cracking?
Tempering chocolate can be tricky, but for this recipe melting chocolate chips gently works well. Here’s how to get a smooth shell:
- Heat chocolate in short bursts (20-30 seconds) in the microwave, stirring well between each to prevent overheating.
- Spread chocolate evenly in the muffin liners and chill to harden before adding filling. This prevents the filling from melting the chocolate.
- After adding the peanut butter filling, cover completely with melted chocolate and chill again. This layering helps avoid cracks when cutting or biting.
Patience with chilling time is key! Once set, remove the cups carefully and store in the fridge to keep the shell firm and shiny.
Equipment You’ll Need
- Standard muffin tin – I like using a muffin tin because it helps shape the peanut butter cups evenly and makes cleanup easy.
- Paper liners – these keep the cups from sticking and make them easy to remove once set.
- Microwave-safe bowls – perfect for melting the chocolate gently and evenly.
- Spatula or spoon – to spread the melted chocolate smoothly in the liners.
- Measuring spoons and cups – for accurate portioning of ingredients.
Flavor Variations & Add-Ins
- Use dark chocolate or white chocolate instead of semisweet for different flavor profiles.
- Add a pinch of cinnamon or espresso powder to the chocolate for aFlavor boost.
- Mix in chopped nuts or crispy rice cereal with the peanut butter before filling for added texture.
- Swirl in caramel or drizzle extra chocolate on top for a fancy touch.
Classic Homemade Reese’s Peanut Butter Cups
Ingredients You’ll Need:
For The Chocolate Shell:
- 1 1/2 cups semisweet chocolate chips (or milk chocolate chips, if preferred)
For The Peanut Butter Filling:
- 3/4 cup creamy peanut butter
- 1/4 cup powdered sugar
- 2 tablespoons unsalted butter, softened
- 1/4 teaspoon salt (omit if using salted peanut butter)
- Optional: 1 teaspoon vanilla extract
How Much Time Will You Need?
This recipe takes about 15 minutes to prepare and spread the chocolate and peanut butter layers. Then, you’ll need about 40 minutes of chilling time in the freezer for the cups to set firmly. So, plan for roughly 1 hour total.
Step-by-Step Instructions:
1. Prepare Your Muffin Tin:
Line a standard muffin tin with about 12 paper liners. This helps you shape your peanut butter cups neatly and easy removal once they’re set.
2. Make the Chocolate Base and Shell:
Place 1 cup of the chocolate chips in a microwave-safe bowl. Melt them in 20-30 second bursts, stirring well between each until smooth and glossy. Spoon about 1 tablespoon of melted chocolate into each paper liner. Use the back of the spoon to gently spread some chocolate up the sides to make a shell for your cups. Pop the tin into the freezer for about 10 minutes to let the chocolate harden.
3. Prepare the Peanut Butter Filling:
While the chocolate sets, mix the creamy peanut butter, powdered sugar, softened butter, salt, and vanilla (if using) in a bowl until smooth and well combined. This sweet and creamy filling is the heart of your peanut butter cups!
4. Add the Peanut Butter Filling and Top with Chocolate:
Take the muffin tin out of the freezer. Place about 1 heaping tablespoon of the peanut butter mixture onto each hardened chocolate base. Press gently to flatten and center the filling without smashing the chocolate shell. Now, melt the remaining 1/2 cup of chocolate chips until smooth and pour over each peanut butter mound, covering it completely. Smooth the tops with the back of a spoon.
5. Chill and Set:
Return the muffin tin to the freezer and chill for at least 30 minutes or until the peanut butter cups are fully firm and set. When they’re ready, carefully unwrap your homemade treats and store them in an airtight container in the refrigerator for up to 2 weeks.
Enjoy these classic, rich chocolate and creamy peanut butter delights whenever you want a sweet little homemade indulgence!
Can I Use Natural Peanut Butter Instead of Creamy?
Yes, you can! Natural peanut butter tends to be a bit thinner and oilier, so mix it well before measuring. You might want to chill the filling a bit longer to help it set firmly.
How Should I Store Homemade Peanut Butter Cups?
Store them in an airtight container in the refrigerator. They stay fresh for up to 2 weeks and keep the chocolate nice and firm. Let them sit at room temperature for a few minutes before enjoying for the best taste and texture.
Can I Make These Ahead of Time?
Absolutely! You can prepare the peanut butter cups completely and freeze them for up to 3 months. Just thaw in the refrigerator overnight before eating.
What’s the Best Chocolate to Use for the Shell?
Semisweet or milk chocolate chips work well for a classic taste. Use high-quality chocolate for the best flavor and smooth texture. Avoid chocolate chips labeled “baking” as they may not melt as smoothly.