Frozen Peanut Butter Yogurt Bites are little frozen treats that combine creamy peanut butter with cool, tangy yogurt. They’re a perfect mix of smooth and chilly with just the right amount of peanut butter flavor in every bite. These tasty nuggets are super easy to make and great for a quick snack or a sweet little dessert.
I love how simple these bites are to prepare—you just need a few ingredients, and then pop them into the freezer. I usually make a big batch so I always have some on hand when I want a refreshing snack that’s not too heavy. Plus, they’re a nice way to enjoy peanut butter in a cooler form, which feels especially good on a warm day.
My favorite way to enjoy these frozen bites is straight from the freezer, almost like miniature peanut butter ice cream. They’re great for kids too, and I find they’re perfect for after-school snacks or a little party treat. If you’ve got a sweet tooth but want to keep things light and chilly, these Peanut Butter Yogurt Bites are a real winner.
Key Ingredients & Substitutions
Greek Yogurt: Using Greek yogurt gives these bites a creamy texture and adds protein. You can choose plain for less sweetness or vanilla for a touch of extra flavor. If dairy-free, try coconut or almond milk yogurt instead.
Peanut Butter: Creamy peanut butter blends smoothly, making the bites soft and rich. Natural or smooth both work well. For those with allergies, sunflower seed butter or almond butter are good alternatives.
Sweetener: Honey or maple syrup adds a gentle sweetness, but you can skip it if you prefer less sugar or use agave nectar or simple stevia drops.
Mini Chocolate Chips: These add little bursts of chocolate in every bite. You can swap for dairy-free or sugar-free chips if needed, or add chopped nuts for crunch instead.
Graham Cracker Crumbs: These add a nice crunch on top. Crushed cookies or granola also work well if you want to switch things up.
How Can You Shape the Bites Without Them Sticking?
Shaping the yogurt bites can be sticky, but here’s how to make it easier:
- Chill your spoon or scoop in the fridge before using—it keeps the mixture from sticking so much.
- Use a small cookie scoop to get even-sized bites quickly.
- Work quickly, then freeze right away to let the bites firm up.
- If hands get sticky, keep a bowl of warm water nearby to rinse your fingers often.
Following these tips helps you form neat bites that freeze perfectly and look great when you’re ready to enjoy them.
Equipment You’ll Need
- Mixing bowl – I use it to stir together the yogurt, peanut butter, and sweetener easily.
- Small cookie scoop or spoon – makes shaping the bites quick and consistent.
- Parchment paper – lines the baking sheet to prevent sticking and makes cleanup easier.
- Freezer-safe container or bag – for storing the bites after freezing so they stay fresh.
Flavor Variations & Add-Ins
- Swap mini chocolate chips for chopped nuts or dried fruit for different textures and flavors.
- Add a splash of vanilla extract or cinnamon to the yogurt mix for extra flavor.
- Mix in crushed cookies or granola on top for a crunchy finishing touch.
- Use almond or sunflower seed butter if you have allergies or prefer a different nut flavor.
How to Make Frozen Peanut Butter Yogurt Bites?
Ingredients You’ll Need:
Main Mixture:
- 1 cup plain or vanilla Greek yogurt
- 1/2 cup creamy peanut butter (natural or smooth)
- 2 tablespoons honey or maple syrup (optional, for sweetness)
- 1/4 cup mini chocolate chips
Topping and Decoration:
- 1/4 cup crushed graham crackers or cookie crumbs
- Additional peanut butter for drizzling (optional)
How Much Time Will You Need?
This recipe takes about 10 minutes to mix and shape the bites, plus 2 to 3 hours in the freezer to set completely. Once frozen, the bites are ready to enjoy anytime!
Step-by-Step Instructions:
1. Mix the Yogurt and Peanut Butter:
In a mixing bowl, combine the Greek yogurt, creamy peanut butter, and honey or maple syrup if you want your bites a little sweeter. Stir everything well until the mixture is smooth and creamy. This makes the perfect base for your frozen bites.
2. Fold in the Chocolate Chips:
Gently fold the mini chocolate chips into the yogurt mixture, spreading them evenly without breaking your mixture. These add little bursts of chocolate yum in every bite.
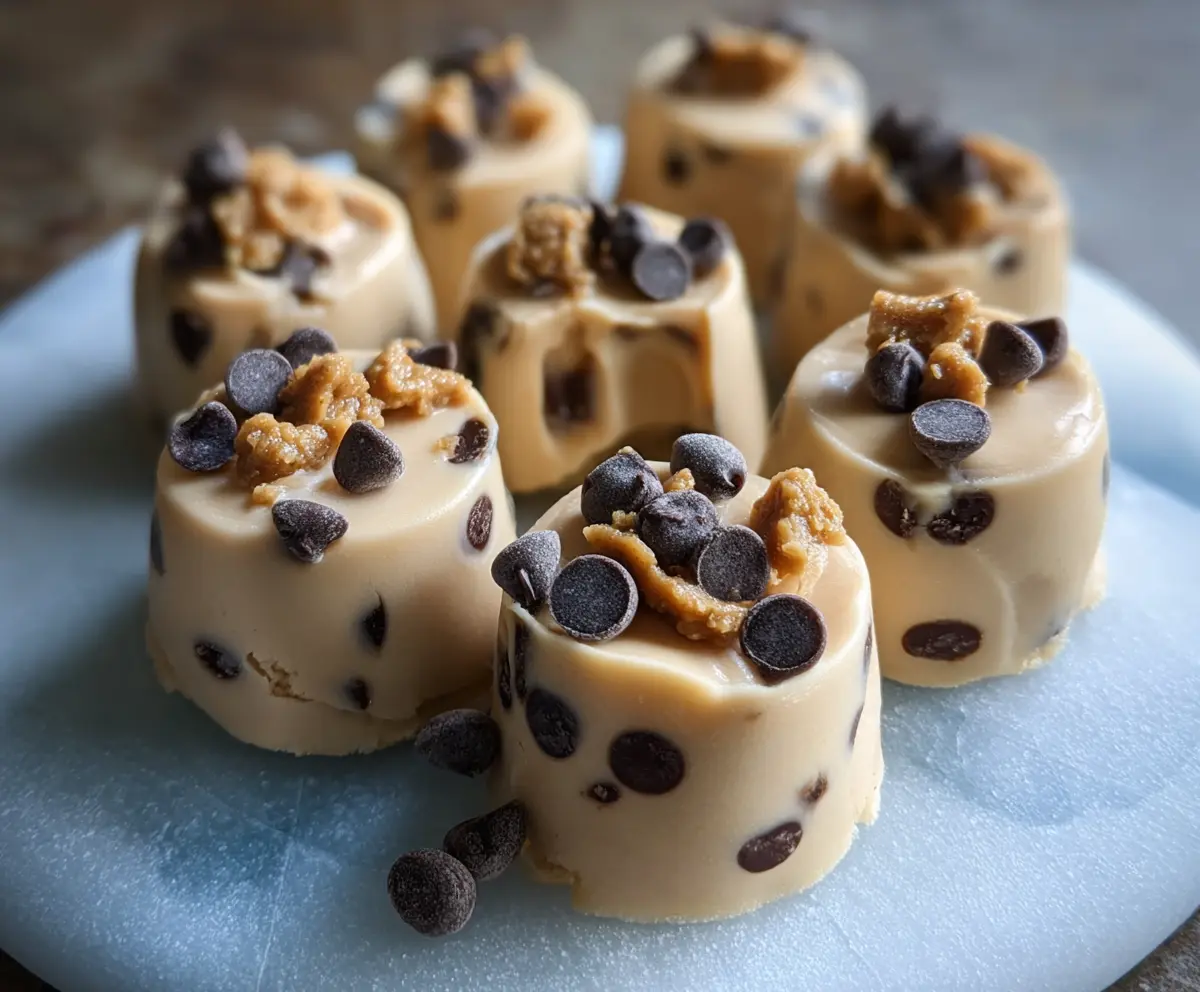
3. Shape the Bites:
Using a small cookie scoop or spoon, scoop out bite-sized portions of the mixture and place them on a baking sheet lined with parchment paper. This keeps the bites from sticking and makes cleanup a breeze.
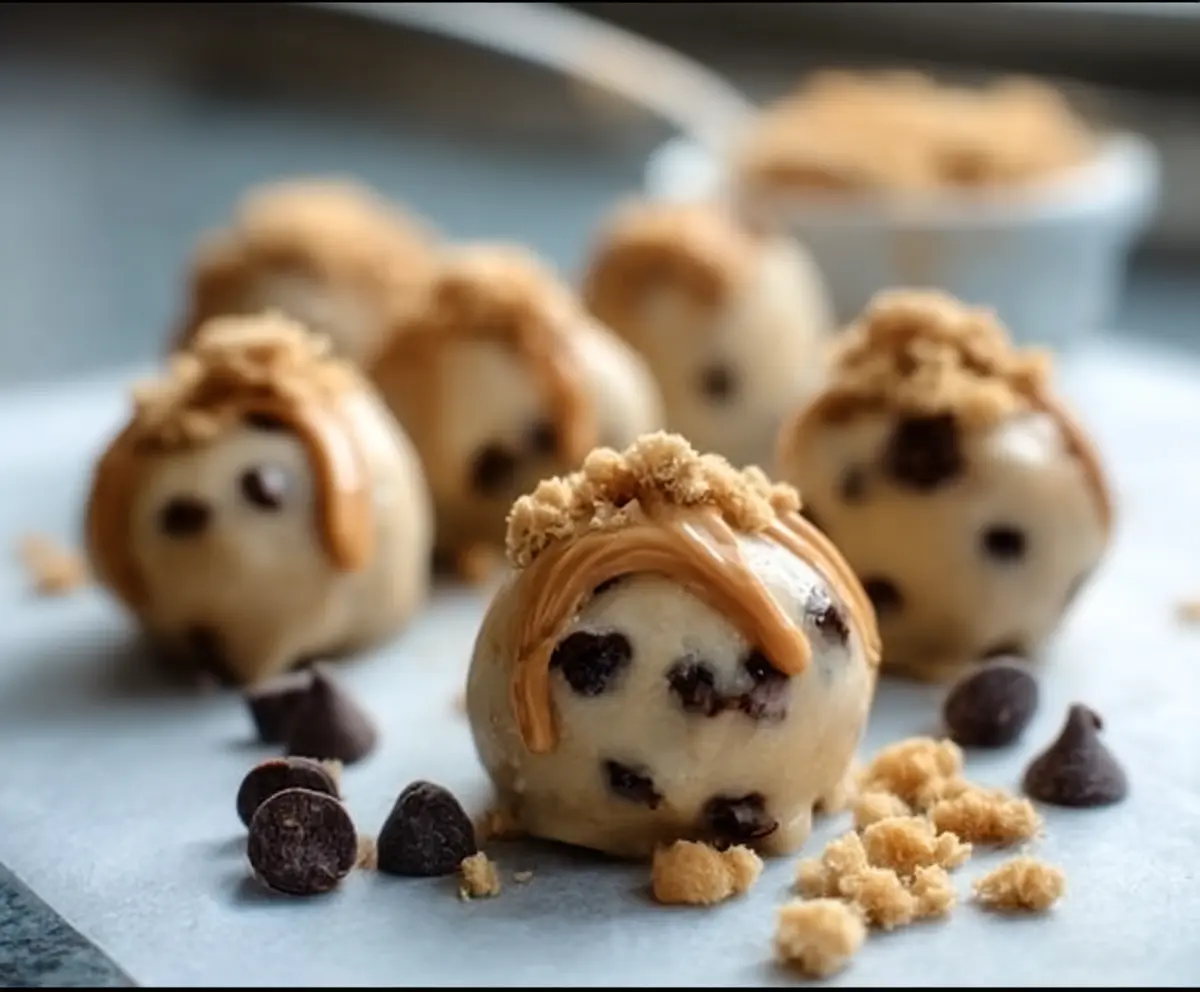
4. Add Peanut Butter Drizzle and Topping:
If you’d like, drizzle a bit of extra peanut butter on top of each bite for extra flavor. Then sprinkle crushed graham crackers or cookie crumbs over the bites to add a nice crunchy texture.
5. Freeze the Bites:
Put the baking sheet into the freezer and let the bites freeze for at least 2 to 3 hours until they’re firm and ready to eat.
6. Store and Serve:
Once frozen, transfer your Peanut Butter Yogurt Bites to an airtight container or freezer-safe bag. Keep them in the freezer for a refreshing, protein-packed snack whenever you want. Serve them frozen for the best texture and taste!
Can I Use Non-Dairy Yogurt for These Bites?
Yes! Feel free to use coconut, almond, or soy-based yogurt if you prefer a dairy-free option. Just make sure it’s thick enough to hold the mixture together—Greek-style plant-based yogurts work best.
How Long Can I Store Frozen Peanut Butter Yogurt Bites?
Store the bites in an airtight container or freezer bag for up to 1 month. This keeps them fresh and tasty, ready to enjoy anytime.
Can I Make These Bites Without Sweetener?
Absolutely! The honey or maple syrup is optional and can be left out if you want a less sweet snack or if your yogurt is already sweetened.
What’s the Best Way to Serve These Bites?
Serve them straight from the freezer for a cold, creamy treat. If they’re too hard, let them sit at room temperature for a couple of minutes to soften slightly before eating.