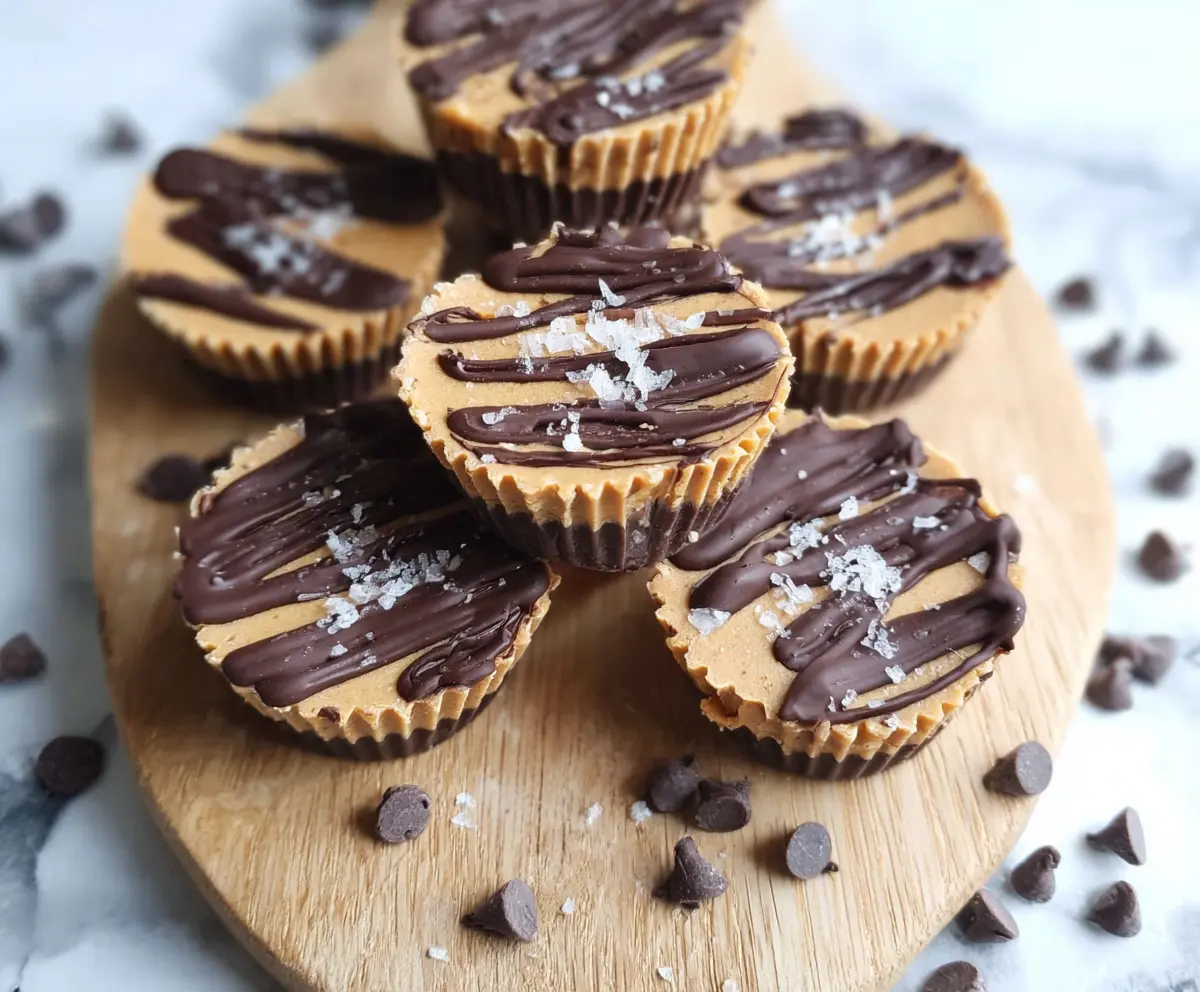
These Healthy 3-Ingredient Peanut Butter Cups are a simple, delicious treat that combines creamy peanut butter, a touch of sweetness, and rich chocolate. They’re a fresh take on the classic peanut butter cup but made with just three wholesome ingredients, so you know exactly what’s in every bite.
I love how easy these peanut butter cups are to make — honestly, just mixing and freezing, and they’re ready to enjoy. It’s such a win when you can whip up a snack quickly and feel good about it. I often keep a batch in the fridge for those moments when I want something sweet but don’t want to reach for store-bought candy with extra ingredients.
My favorite way to enjoy them is chilled from the fridge, perfect for a quick pick-me-up or an after-dinner treat. They remind me of homemade goodies my family used to make, and they’re great for sharing with friends or just keeping as a little stash of happiness for yourself. Trust me, these will become a fast favorite in your snack rotation!
Key Ingredients & Substitutions
Natural Peanut Butter: Using natural peanut butter with no added sugar or oil keeps these cups healthy. You can try almond or cashew butter if you want a different nutty flavor. Choose smooth for creamy cups or crunchy for extra texture.
Maple Syrup or Honey: These natural sweeteners add just enough sweetness without refined sugar. If you want a sugar-free option, try a liquid stevia or erythritol syrup, but adjust to taste as they are sweeter.
Dark Chocolate Chips: Look for chocolate with at least 70% cacao for a less sugary, richer taste. Use vegan or dairy-free chocolate if needed. The chocolate forms the firm base and finishing touch, so quality matters.
How Can I Get Perfect Layers in My Peanut Butter Cups?
Getting neat, defined layers can be tricky without patience. Here’s how I make it easy:
- First, pour and spread the melted chocolate evenly in the liners, then freeze so it hardens well.
- Mix your peanut butter and sweetener smooth—this helps the peanut butter layer hold shape.
- Gently spoon the peanut butter mix on top without disturbing the chocolate base.
- Drizzle chocolate on top last, then freeze again for a firm finish.
Freezing between layers is key—it stops the layers from mixing and makes your peanut butter cups look professional and clean!
Equipment You’ll Need
- Mini muffin tin – I use this to give the cups their perfect shape and size.
- Paper liners – these make cleanup easy and keep the cups from sticking.
- Microwave-safe bowl – for melting the chocolate quickly and smoothly.
- Spatula or spoon – helps spread the melted chocolate evenly into the liners.
- Freezer – essential for setting the layers fast and keeping everything firm.
Flavor Variations & Add-Ins
- Add a dash of vanilla extract or cinnamon to the peanut butter mixture for extra flavor.
- Swap peanut butter for almond, cashew, or sunflower seed butter to change the taste.
- Mix in chopped nuts, dried fruit, or coconut flakes for texture and variety.
- Use flavored chocolates, like peppermint or salted caramel, to make special varieties.
Healthy 3-Ingredient Peanut Butter Cups
Ingredients You’ll Need:
Main Ingredients:
- 1 cup natural peanut butter (smooth or crunchy, unsweetened)
- ¼ cup pure maple syrup or honey
- 1 cup dark chocolate chips (at least 70% cacao)
- Optional: sea salt flakes for garnish
How Much Time Will You Need?
This recipe takes about 10 minutes of active prep time and around 40 minutes of chilling time in the freezer to let the peanut butter cups set properly. Plan for roughly 50 minutes total before they are ready to enjoy.
Step-by-Step Instructions:
1. Prepare Your Pan:
Line a mini muffin tin with paper liners. This makes it easy to remove your peanut butter cups once they are set and helps keep things neat.
2. Melt and Layer the Chocolate:
Put the dark chocolate chips in a microwave-safe bowl and heat them in 20-second bursts, stirring in between, until smooth. Spoon about 1 tablespoon of melted chocolate into the bottom of each liner, and gently spread it out to cover the base evenly. Place the muffin tin in the freezer for about 10 minutes to let the chocolate firm up.
3. Mix and Add the Peanut Butter Layer:
While the chocolate sets, mix the natural peanut butter and maple syrup or honey together until smooth. Take the muffin tin out of the freezer and spoon about 1 tablespoon of this peanut butter mixture on top of the hardened chocolate layer, spreading it gently.
4. Top with More Chocolate and Chill:
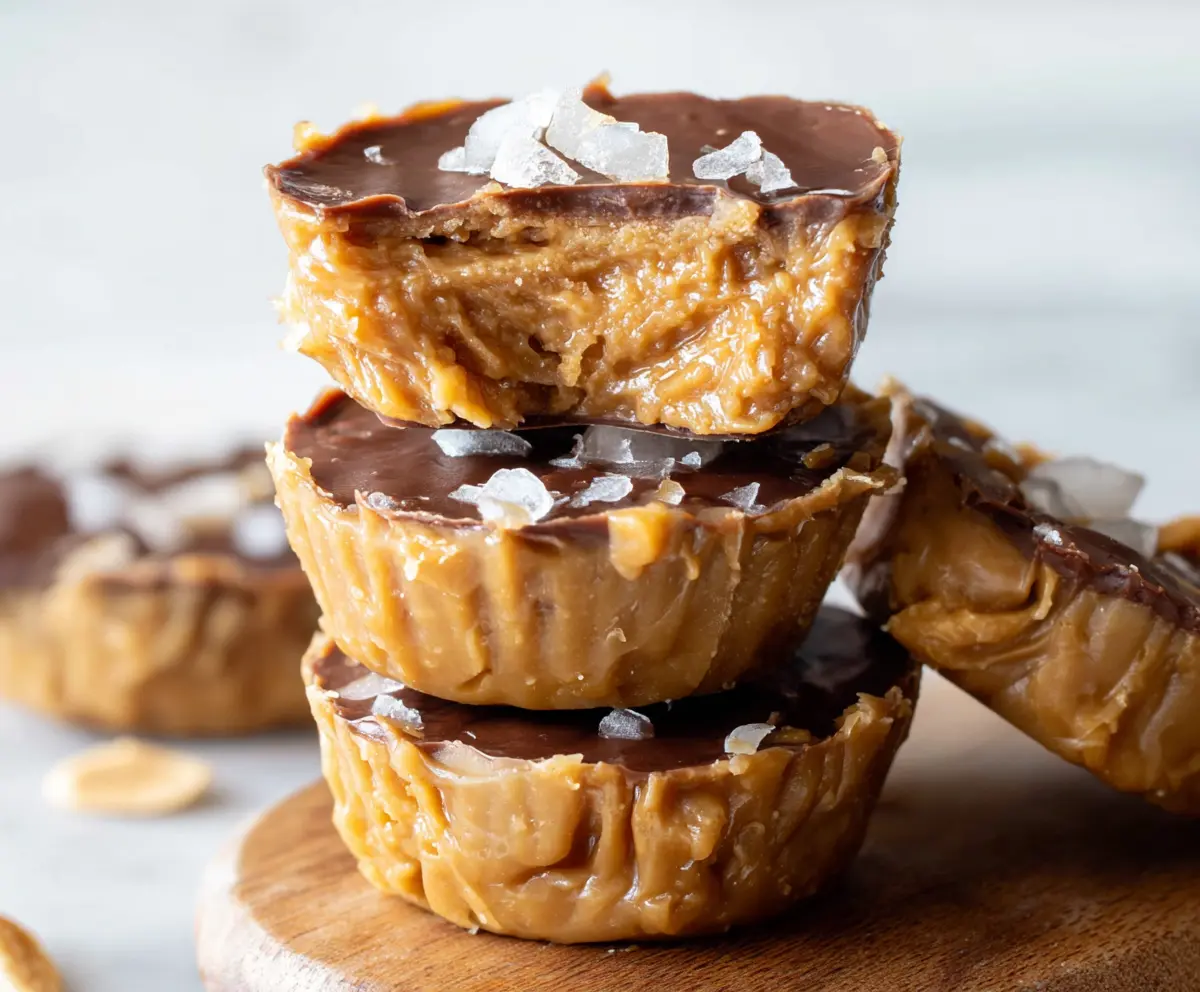
Drizzle the remaining melted chocolate over the peanut butter layer to create a pretty topping. For an extra touch, sprinkle a pinch of sea salt flakes on each cup.
5. Set and Serve:
Put the muffin tin back in the freezer for at least 30 minutes so the peanut butter cups can firm up completely. When they’re ready, remove them from the freezer and keep refrigerated until serving. Let them sit at room temperature for a few minutes for easier, creamier bites.
Can I Use Frozen Peanut Butter?
It’s best to use peanut butter at room temperature for easy mixing. If yours is chilled or slightly firm, just give it a quick stir to soften before combining with the syrup or honey.
Can I Substitute Maple Syrup or Honey?
Yes! You can use agave nectar, brown rice syrup, or a liquid sweetener like monk fruit syrup. Just keep in mind the sweetness level may vary, so taste and adjust as needed.
How Should I Store These Peanut Butter Cups?
Store your peanut butter cups in an airtight container in the fridge for up to 1 week or in the freezer for up to a month. Thaw in the fridge or at room temperature before eating.
Can I Make These Ahead of Time?
Absolutely! They keep well and are perfect to make in advance. Just keep them chilled until you’re ready to serve for the best texture.