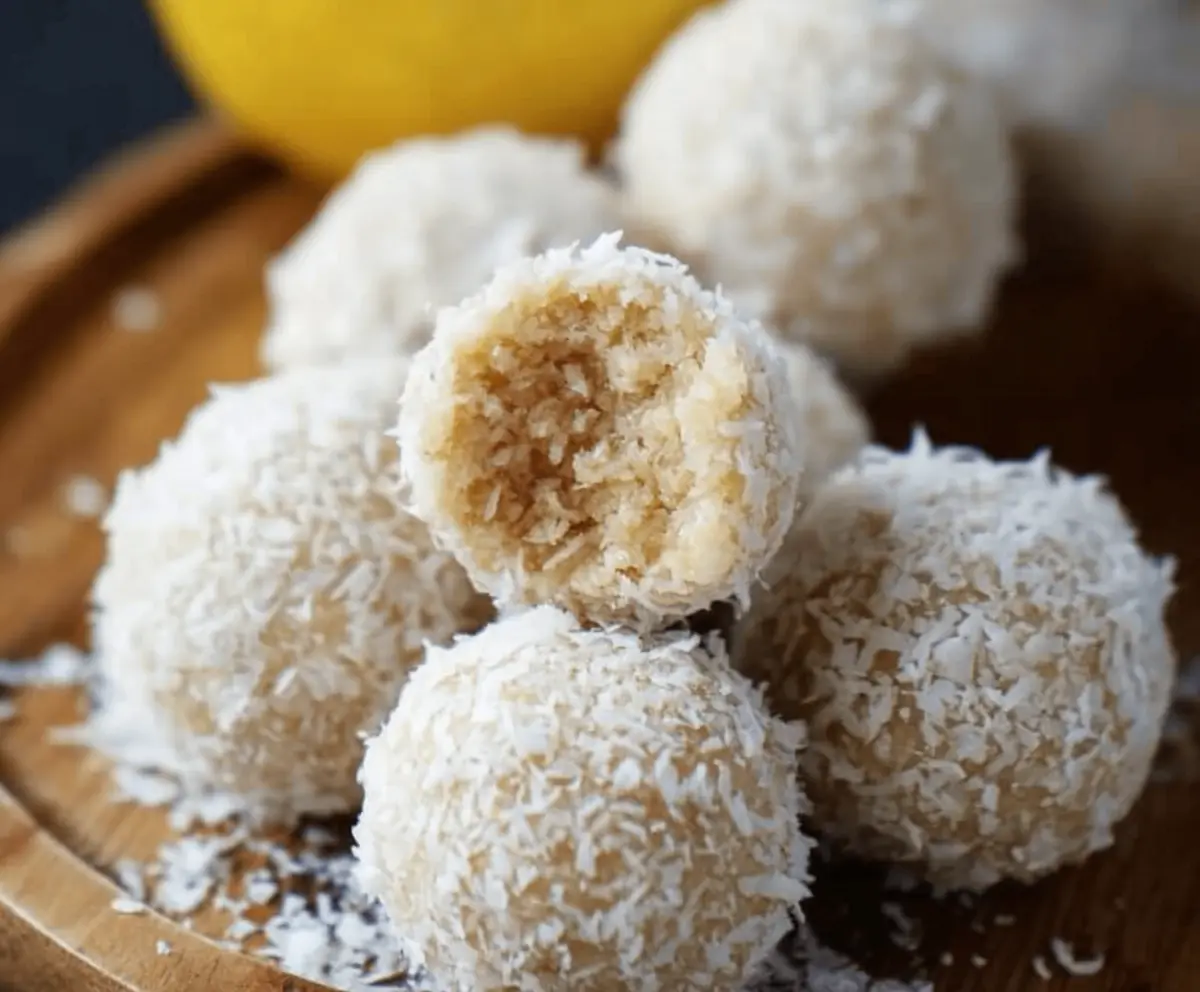
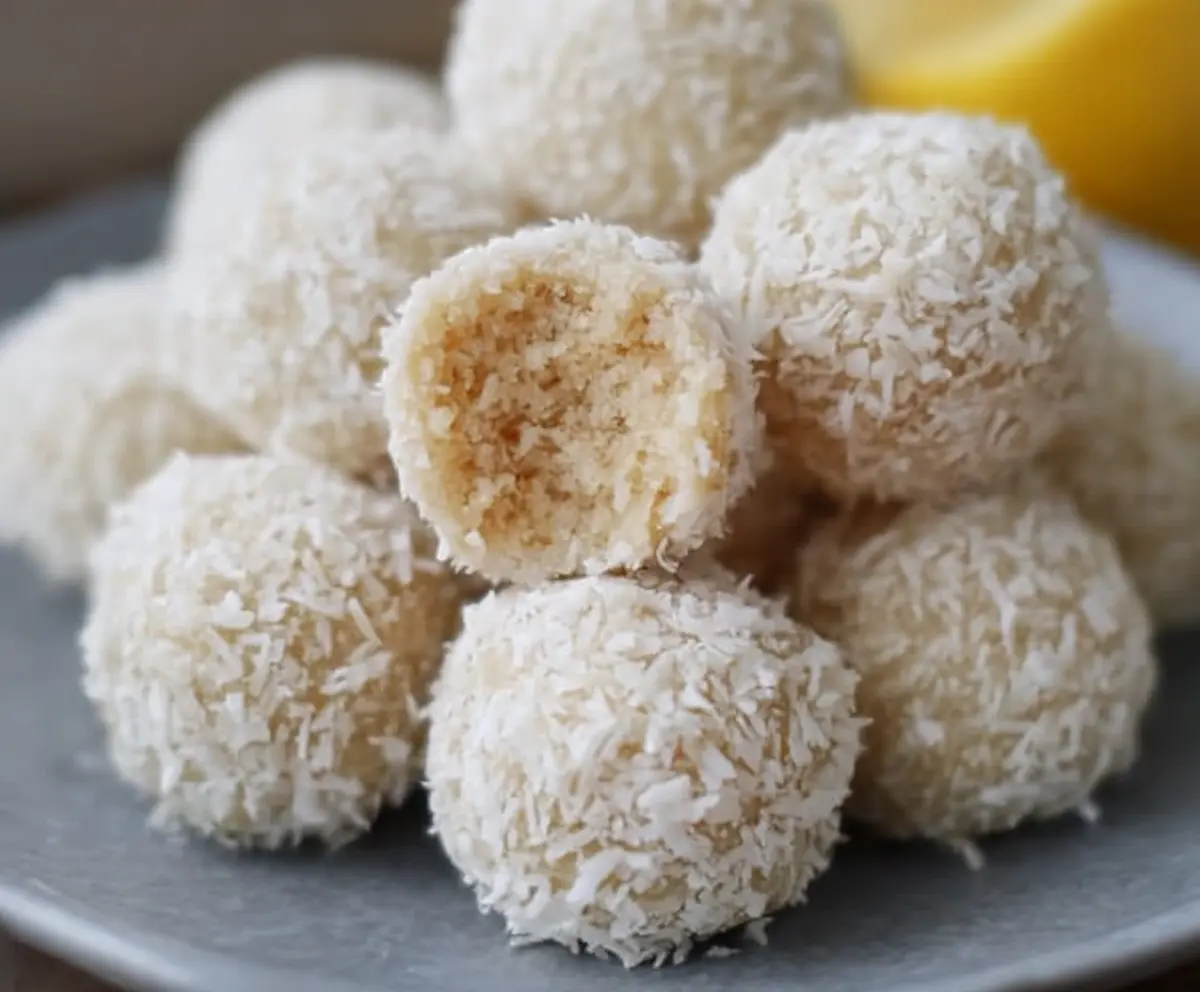
Lemon Coconut Protein Balls are little bites of bright, zesty flavor mixed with sweet coconut and a good boost of protein. They have a fresh lemony zing that pairs perfectly with the chewy, nutty texture of coconut, making them a great snack to keep you energized throughout the day.
I love making these because they’re super easy to whip up, and I always have the ingredients on hand. Whenever I need a quick pick-me-up or a post-workout snack, these balls are my go-to. Plus, they’re no-bake, which means no hassle and no oven required!
My favorite way to enjoy them is chilled from the fridge when they’re nice and firm. They travel well too, so I often pack a few in my bag for busy days. If you like snacks that feel a little like a treat but also fuel your body, these Lemon Coconut Protein Balls will definitely become a favorite.
Key Ingredients & Substitutions
Rolled Oats: These add texture and fiber. If you’re gluten-free, just make sure to pick certified gluten-free oats. They help make these balls chewy and filling.
Protein Powder: Vanilla flavor works well here, but you can swap it with plant-based or whey protein depending on your diet. I like using a mild flavor to keep the lemon fresh.
Shredded Coconut: Unsweetened coconut keeps the sweetness balanced. You can use flaked coconut if you prefer a bit more texture. Plus, rolling the balls in coconut adds a nice finishing touch.
Honey or Maple Syrup: Both add natural sweetness and help the balls stick together. Maple syrup is a great vegan alternative, and honey offers a floral note I enjoy.
Coconut Oil: This helps bind everything and adds a hint of richness. You can substitute with nut butter for a different twist, but the coconut oil keeps the flavor bright and light.
Lemon Zest & Juice: Fresh lemon zest and juice give these balls their signature zing. Bottled lemon juice won’t have the same punch, so fresh is best for that lively citrus flavor.
How Do I Get the Perfect Texture to Roll and Hold Shape?
The key to shaping these protein balls is getting the right stickiness without making the mixture too wet or crumbly.
- Start mixing with a spatula or your hands to feel the texture.
- If it feels dry and crumbly, add lemon juice in small drops or a bit more coconut oil.
- A sticky texture is good but don’t overdo it, or the balls get too soft.
- After rolling, chill the balls in the fridge for at least 30 minutes—the cold helps them firm up nicely.
- If the mixture sticks too much to your hands, lightly dampen your palms with water while rolling.
Equipment You’ll Need
- Mixing bowl – I use a large one so I have enough space to combine all ingredients easily.
- Measuring cups and spoons – to get the ingredients just right.
- Silicone spatula or spoon – makes mixing smooth and cleanup easier.
- Cookie scoop or Tablespoon – helps measure even portions for uniform balls.
- Parchment paper or baking tray – to lay out the balls before chilling.
- Refrigerator – essential for firming up the balls before serving.
Flavor Variations & Add-Ins
- Use lime or orange zest instead of lemon for different citrus notes.
- Mix in chopped nuts or dried fruit for added texture and flavor.
- Swap shredded coconut for cocoa powder and add mini chocolate chips for a chocolate twist.
- Add a teaspoon of grated fresh ginger or a pinch of cinnamon to spice things up.
How to Make Lemon Coconut Protein Balls?
Ingredients You’ll Need:
- 1 cup rolled oats
- 1/2 cup vanilla protein powder
- 3/4 cup shredded unsweetened coconut, plus extra for rolling
- 1/4 cup honey or maple syrup
- 1/4 cup coconut oil, melted
- Zest of 1 lemon
- 2 tablespoons fresh lemon juice
- 1/2 teaspoon vanilla extract
- Pinch of salt
How Much Time Will You Need?
This recipe takes about 10 minutes to prepare and mix, plus at least 30 minutes to chill in the fridge so the balls firm up nicely before eating. It’s a quick and easy no-bake snack you can enjoy anytime!
Step-by-Step Instructions:
1. Mix the Dry Ingredients:
In a large mixing bowl, combine the rolled oats, vanilla protein powder, and 3/4 cup shredded coconut. Stir them together so they’re evenly mixed.
2. Add the Wet Ingredients and Flavor:
Add the lemon zest, fresh lemon juice, honey or maple syrup, melted coconut oil, vanilla extract, and a pinch of salt to the dry mix. Mix everything well with a spatula or your hands until it forms a sticky mixture.
3. Shape the Protein Balls:
Take about a tablespoon of the mixture and roll it between your palms to make a smooth ball. If the mixture feels too dry, add a bit more lemon juice or a tiny splash of water.
4. Coat and Chill:
Roll each ball in the extra shredded coconut until nicely coated. Place the balls on a plate or tray lined with parchment paper.
Refrigerate for at least 30 minutes so they firm up and hold their shape.
5. Store and Enjoy:
Keep your Lemon Coconut Protein Balls in an airtight container in the fridge for up to one week. You can also freeze them if you want to store them longer!
Can I Use a Different Protein Powder?
Yes! You can substitute vanilla protein powder with any flavor or type you prefer, such as chocolate or plant-based. Just keep in mind that different powders may slightly change the taste and texture.
Can I Make These Protein Balls Ahead of Time?
Absolutely! They actually taste better after chilling for a few hours or overnight. Store them in the fridge in an airtight container for up to a week or freeze for longer storage.
What Can I Use Instead of Coconut Oil?
If you don’t have coconut oil, try using melted nut butter like almond or peanut butter. It will add a different flavor and creaminess but still help bind the mixture.
How Do I Keep the Balls from Falling Apart?
Make sure the mixture is sticky enough before shaping. If it feels dry, add a little more lemon juice, coconut oil, or a splash of water. Chilling them for at least 30 minutes also helps them hold their shape perfectly.