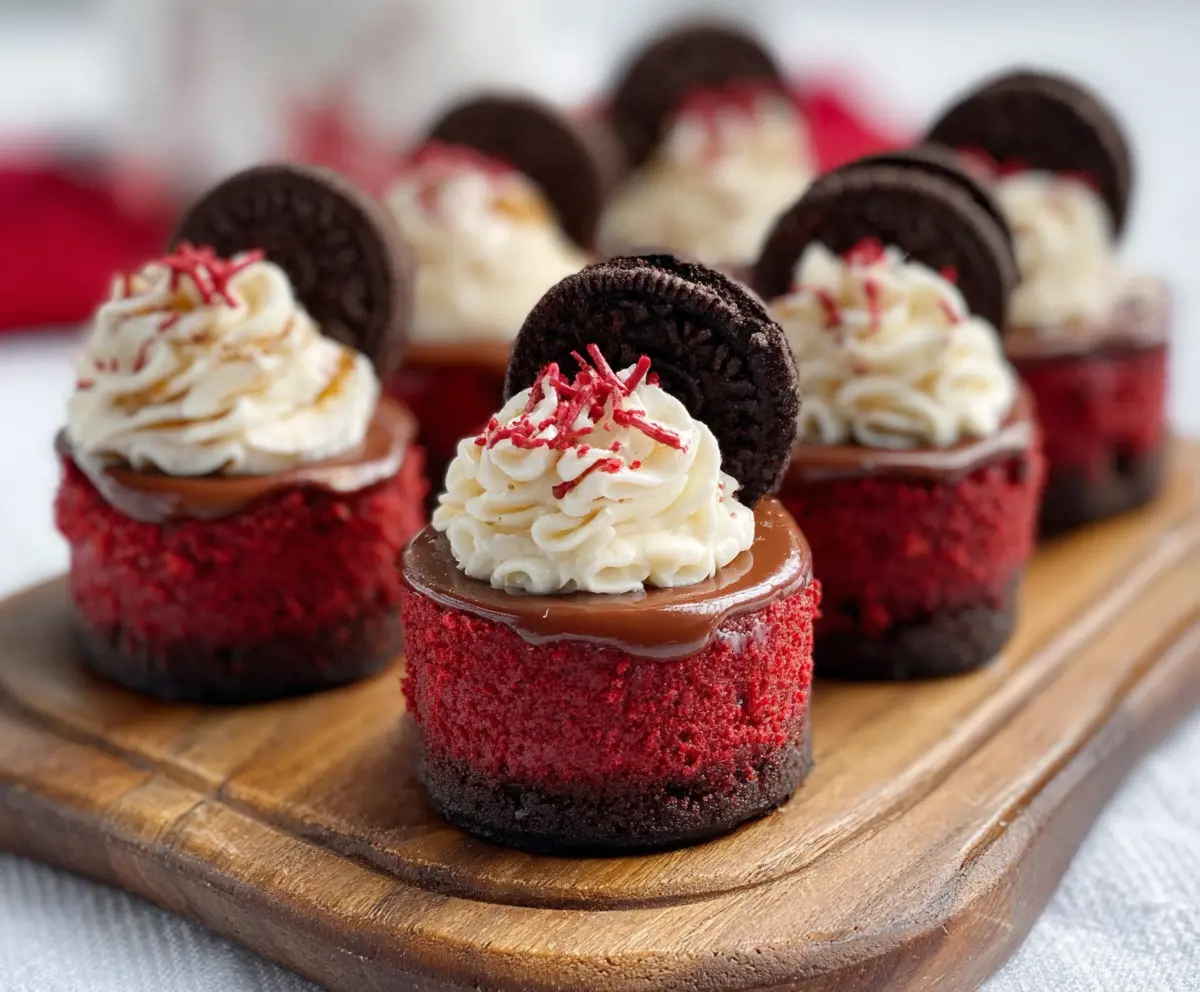
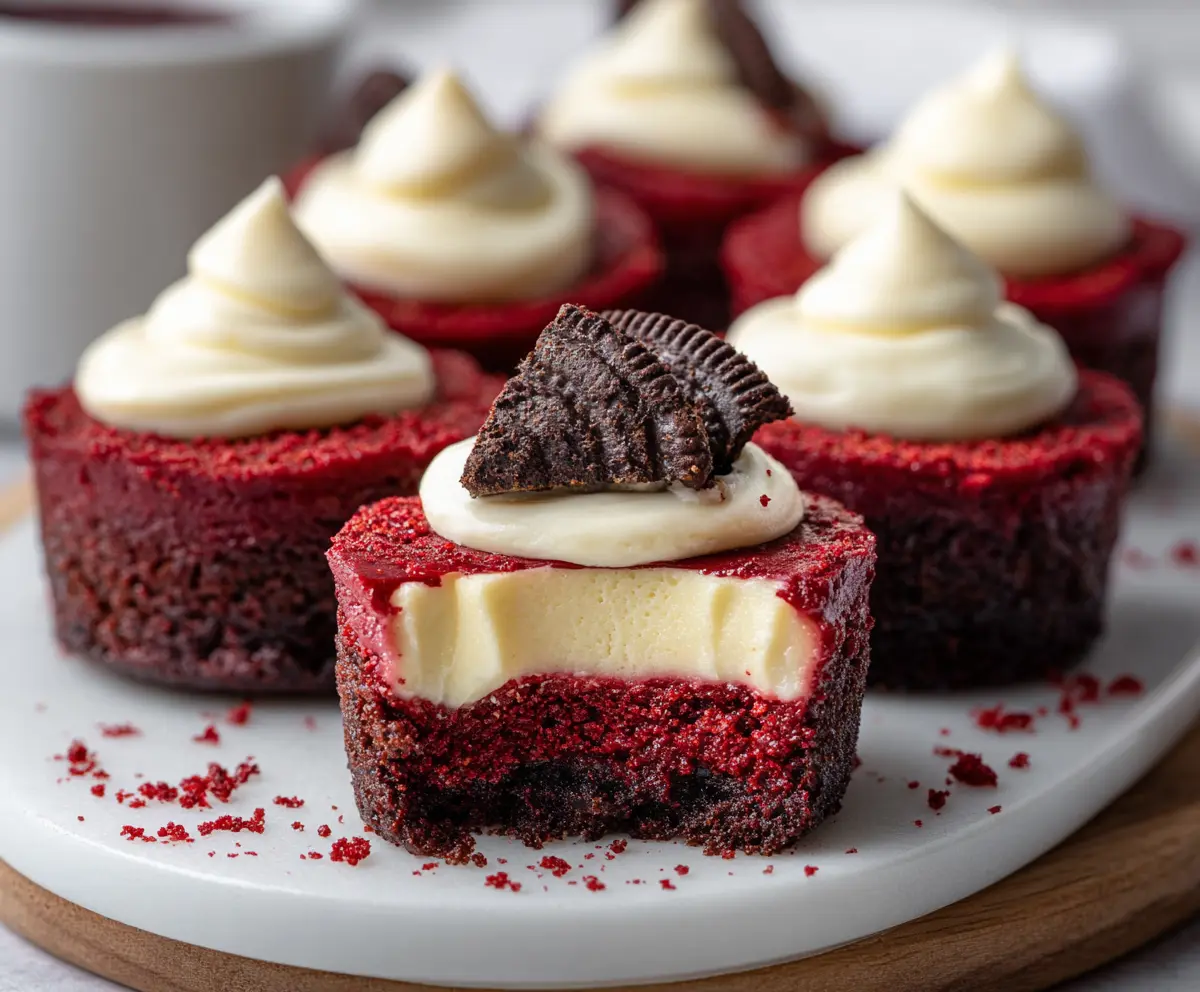
Mini Red Velvet Cheesecakes are little delights that combine the rich, velvety taste of red velvet cake with the creamy smoothness of cheesecake. These bite-sized treats have a lovely balance of tangy cream cheese topping and that classic red velvet flavor, complete with a hint of cocoa and just the right amount of sweetness.
I love making these because they’re perfect for sharing or for when you want a special dessert without having a huge slice. One of my favorite things is how easy they are to customize—sometimes I swirl in a bit of chocolate or sprinkle a little extra cream cheese on top before baking. They always turn out moist and creamy, which makes everyone ask for seconds!
They’re wonderful served chilled, maybe with a cup of coffee or tea, and they make any occasion feel a little brighter and more festive. I also find that making these mini cheesecakes is a fun way to get creative in the kitchen and impress friends without too much effort. Trust me, once you try these, they’ll become your go-to sweet treat.
Key Ingredients & Substitutions
Oreo Cookies: These make a crunchy, chocolatey crust that pairs perfectly with cheesecake. If you’re not a fan or need a gluten-free option, try graham crackers or gluten-free chocolate cookies.
Cream Cheese: This is the heart of any cheesecake and gives that creamy texture. Make sure it’s softened to avoid lumps. For a lighter version, you could try reduced-fat cream cheese, but texture may differ slightly.
Red Food Coloring & Cocoa Powder: These bring the classic red velvet flavor and color. If you want to skip artificial food coloring, try using beet juice as a natural alternative for red.
Sour Cream: Helps keep the cheesecake moist and adds a slight tang. Greek yogurt is a good substitute if that’s what you have on hand.
Heavy Cream (for topping and ganache): Adds richness and helps create a smooth whipped cream and ganache. Coconut cream works well as a dairy-free alternative.
How Do You Get That Perfect Creamy, Smooth Cheesecake Texture?
The key is soft cream cheese and gentle mixing. Start by softening the cream cheese completely to room temperature. Beat it with sugar just until smooth before adding eggs, one at a time. Avoid over mixing once the eggs go in to keep the batter light.
- Use a hand mixer or stand mixer at medium speed.
- Mix eggs in slowly and stop once no streaks remain.
- Add sour cream and flour carefully to maintain creaminess.
- Bake at a low temperature and don’t overbake; the centers should jiggle slightly when done.
- Cool gradually and chill thoroughly to help the cheesecake set.
Following these steps will give you that smooth, dreamy texture that melts in your mouth every time.
Equipment You’ll Need
- Mini muffin tin – I love this because it makes perfectly portioned, bite-sized cheesecakes that are easy to serve and share.
- Food processor or rolling pin – this helps crush the Oreo cookies finely for the crust.
- Mixing bowls – for mixing the crust and filling smoothly without mess.
- Electric hand or stand mixer – makes beating the cream cheese and other ingredients effortless and ensures a smooth batter.
- Spatula – ideal for spreading the crust and folding ingredients gently.
- Small saucepan – for heating the heavy cream if making ganache.
- Spoon or piping bag – for topping with whipped cream and ganache neatly.
Flavor Variations & Add-Ins
- Chocolate chips or chunks – fold into the batter for mini chocolate chips cookies and cream flavor.
- White chocolate or peppermint – stir in melted white chocolate or peppermint extract for a festive twist.
- Fresh berries or fruit preserves – add on top or swirl into the batter for a fruity touch.
- Different cookies – try graham crackers, chocolate chip cookies, or ginger snaps for varied crust flavors.
- Swirls of cream cheese or peanut butter – add a spoonful onto batter before baking to create beautiful marbled effects.
Mini Red Velvet Cheesecake
Ingredients You’ll Need:
For the Crust:
- 20 Oreo cookies (or chocolate sandwich cookies)
- 4 tablespoons unsalted butter, melted
For the Red Velvet Cheesecake:
- 16 oz (450 g) cream cheese, softened
- 2/3 cup granulated sugar
- 2 large eggs
- 1 teaspoon vanilla extract
- 2 tablespoons unsweetened cocoa powder
- 1 tablespoon red food coloring
- 1 teaspoon white vinegar
- 1/2 cup sour cream
- 1/4 cup all-purpose flour
For the Topping:
- 1/2 cup heavy cream
- 2 tablespoons powdered sugar
- 1/2 teaspoon vanilla extract
- Additional Oreo cookies for garnish (halved)
- Red velvet cake crumbs for garnish
For the Chocolate Ganache (Optional):
- 1/2 cup semi-sweet chocolate chips
- 1/4 cup heavy cream
How Much Time Will You Need?
This recipe takes about 15 minutes to prepare, 20 minutes to bake, and you’ll need at least 3 hours of chilling time to let the cheesecakes set properly. Plan ahead so you can enjoy these creamy, tasty bites at their best!
Step-by-Step Instructions:
1. Prepare the Crust:
Preheat your oven to 325°F (163°C). Crush the Oreo cookies finely using a food processor or place them in a bag and crush with a rolling pin. Mix the crumbs with the melted butter until they’re well combined. Press about 1 tablespoon of this mixture into the bottom of each mini muffin cup to make the crust. Set aside.
2. Make the Red Velvet Cheesecake Filling:
In a large bowl, beat the softened cream cheese and sugar until smooth and creamy. Add eggs one at a time, mixing well after each. Stir in the vanilla extract, cocoa powder, and red food coloring until everything is evenly blended. Add the white vinegar, sour cream, and flour, then mix until just combined—don’t overmix!
3. Bake the Mini Cheesecakes:
Pour the cheesecake batter evenly over the crusts in the muffin tin, filling each about three-quarters full. Bake for 18 to 22 minutes. When done, the centers should be set but still slightly jiggly. Let the cheesecakes cool to room temperature, then refrigerate for at least 3 hours so they can chill and firm up.
4. Optional Chocolate Ganache:
Warm the heavy cream in a small saucepan or microwave until hot but not boiling. Pour it over the chocolate chips in a bowl and let it sit for a minute. Stir gently until smooth and glossy. Spoon a thin layer of ganache over each chilled cheesecake for a rich chocolate finish.
5. Add the Whipped Cream Topping and Garnishes:
Whip the heavy cream with powdered sugar and vanilla extract until stiff peaks form. Use a piping bag or a spoon to add a pretty swirl of whipped cream on top of each cheesecake. Garnish with a halved Oreo cookie and sprinkle with red velvet cake crumbs for a festive touch.
6. Serve and Enjoy!
Keep these cheesecakes chilled until you’re ready to serve. They’re delightful as bite-sized treats for parties, holidays, or anytime you want something sweet and special!
Can I Use Frozen Cream Cheese for This Recipe?
It’s best to use cream cheese that’s fully thawed and softened to room temperature before mixing. This helps achieve a smooth batter without lumps. Simply thaw frozen cream cheese in the fridge overnight or at room temperature for a few hours.
Can I Make Mini Red Velvet Cheesecakes Ahead of Time?
Absolutely! These cheesecakes actually taste better after chilling overnight. Prepare them a day ahead, store in an airtight container in the fridge, and add toppings just before serving for the freshest look.
How Should I Store Leftover Mini Cheesecakes?
Store leftovers in an airtight container in the refrigerator for up to 3-4 days. Keep them chilled to maintain their creamy texture. Before serving, you can let them sit at room temperature for about 10 minutes for a softer bite.
Can I Use a Different Cookie for the Crust?
Yes! Graham crackers, chocolate chip cookies, or even ginger snaps can make delicious crusts. Just crush them finely and mix with melted butter as directed. Each will add its own unique flavor to the mini cheesecakes.