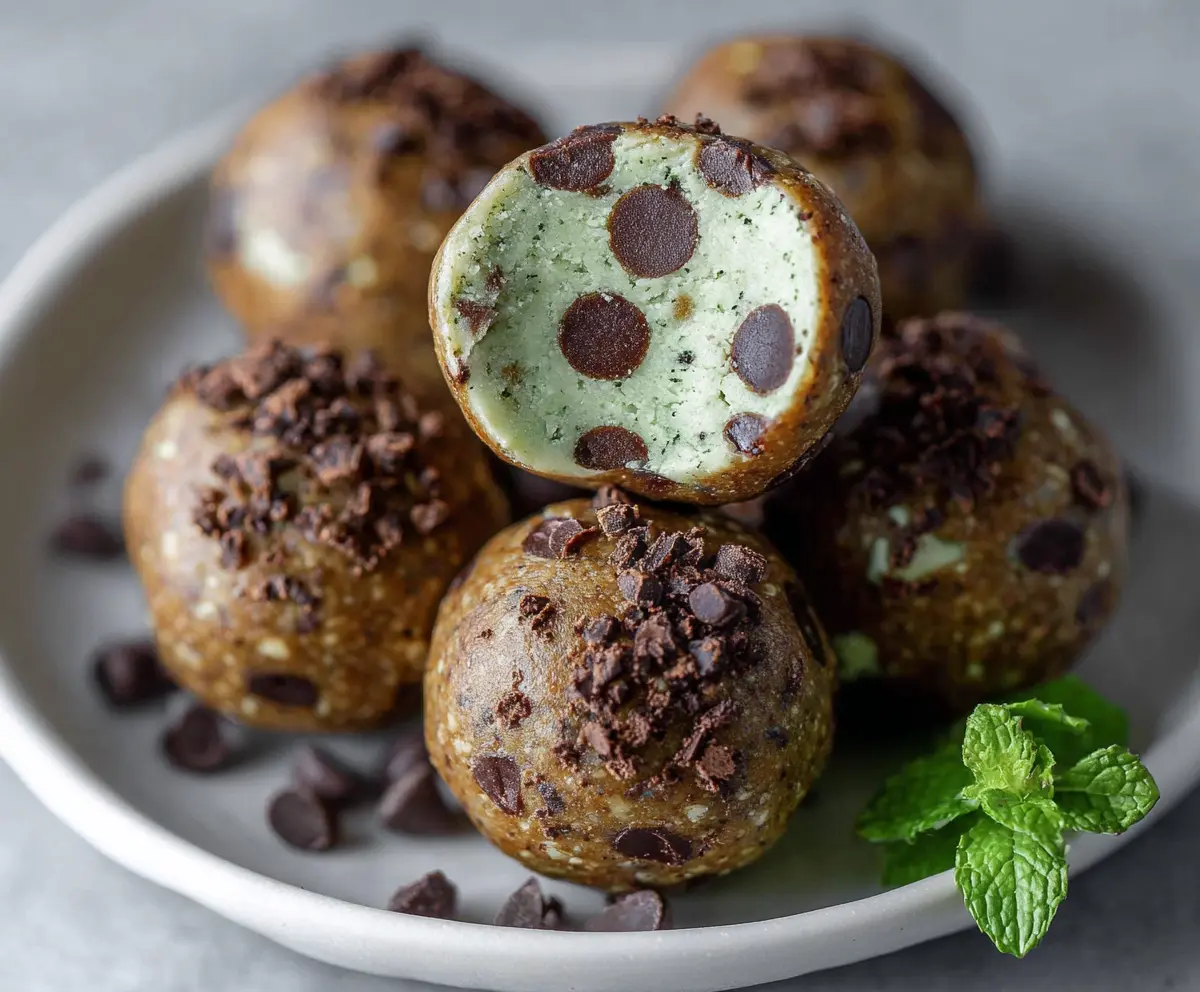
Mint Chocolate Chip Protein Balls are a refreshing and tasty treat that feels like a little chocolatey mint dessert, but packs a protein punch to keep you going. These little bites combine the cool taste of mint with rich chocolate chips, all wrapped up in a soft, chewy texture that’s perfect for snacking anytime.
I love making these protein balls when I need a quick pick-me-up that doesn’t feel heavy or sugary. The mint flavor feels fresh and bright, which makes them stand out from regular protein snacks. Plus, I always keep a batch in the fridge because they’re so easy to grab when I’m rushing out the door or need a little fuel after a workout.
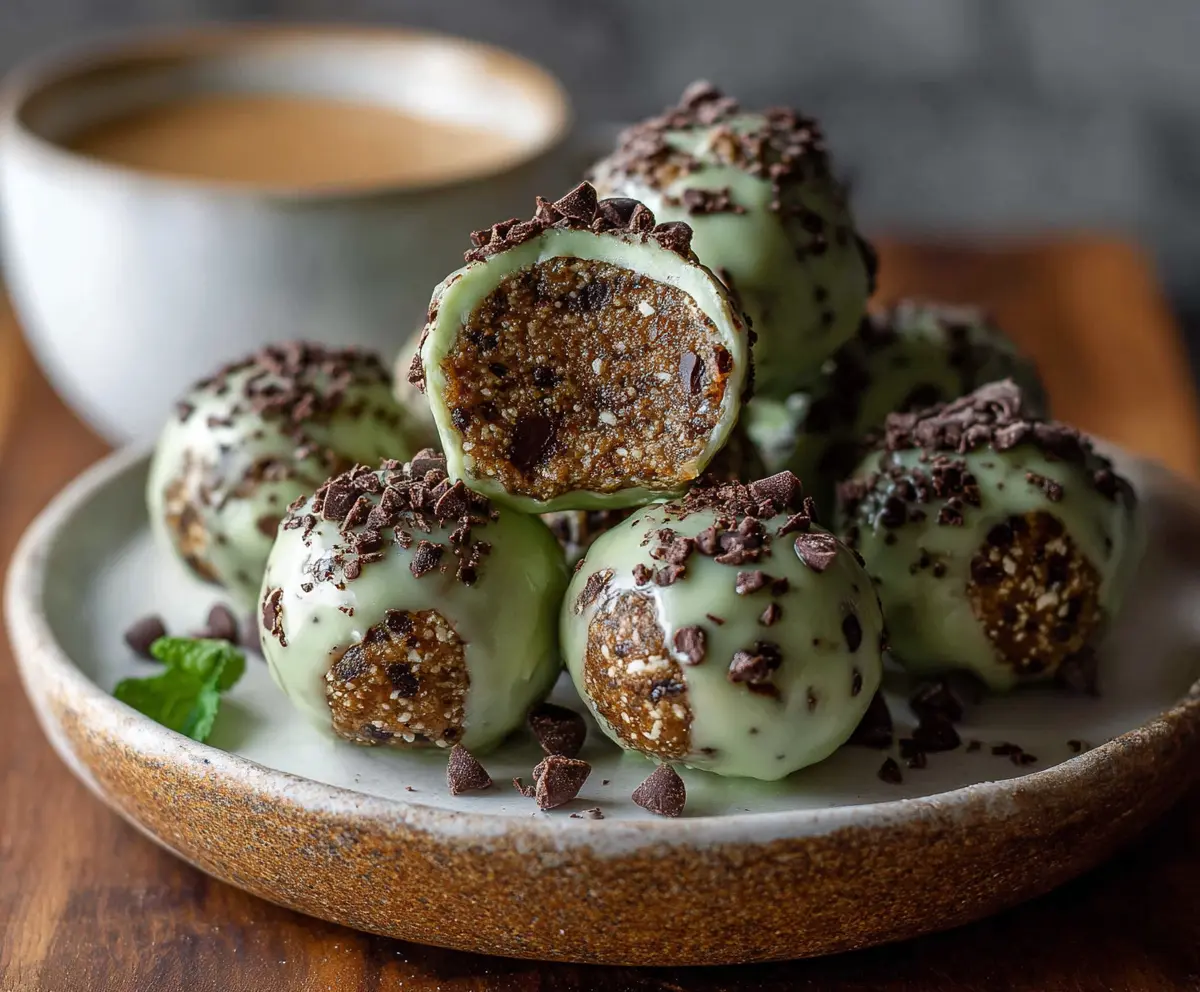
My favorite way to enjoy them is chilled, straight from the fridge, and sometimes I pop a few into my lunch box or snack bag for work or a day out. They’re great for anyone who wants something sweet but still healthy and filling, and I think they’re a fun way to sneak some extra protein into your day without feeling like you’re eating a typical protein bar.
Key Ingredients & Substitutions
Rolled oats: They add texture and hold everything together. Use quick oats if you’re in a hurry—they work fine but give a softer bite.
Protein powder: Vanilla protein powder is great for sweetness and flavor. If you can’t find vanilla, plain protein works too. Plant-based powders like pea or rice protein are good options.
Almond or peanut butter: Natural nut butters add creaminess and healthy fats. If you have a nut allergy, sunflower seed butter makes a nice substitute.
Honey or maple syrup: These sweeten naturally. Maple syrup works well if you want a vegan option.
Peppermint extract: This gives the mint flavor. Start with less and add more if you like a stronger mint taste. Fresh mint finely chopped can be used but won’t be as intense.
Mini chocolate chips: Dark chocolate chips add that classic mint-chocolate combo. Use dairy-free chips if you want vegan or dairy-free snacks.
How Do You Get the Perfect Dough for Rolling?
The texture is key so the balls hold together without being sticky or dry. Here’s how:
- Mix dry ingredients first to blend flavors evenly.
- Add wet ingredients gradually and stir well.
- Slowly add milk one tablespoon at a time until you get a dough that sticks but isn’t gooey.
- If too wet, add more oats or flaxseed; if too dry, add a splash more milk or nut butter.
- Once dough feels right, fold in chocolate chips gently to avoid breaking them up.
- Use slightly damp hands to roll for easier shaping and less sticking.
Chilling the balls helps them firm up and hold their shape better. I like to keep mine in the fridge so they stay fresh and cool to eat.
Equipment You’ll Need
- Mixing bowls – I use a large bowl to combine all the ingredients easily.
- Measuring cups and spoons – they keep everything precise and help with easy prep.
- Small cookie scoop or spoon – makes shaping the balls quicker and uniform.
- Parchment paper or silicone mat – to line the tray and prevent sticking when chilling.
- Refrigerator – necessary to chill and firm up the protein balls before eating.
Flavor Variations & Add-Ins
- Use dark chocolate chunks instead of chips for a richer flavor and more texture.
- Add 1-2 tablespoons of shredded coconut for extra sweetness and chewy bits.
- Switch peppermint extract for vanilla or almond extract if you want a different flavor profile.
- Mix in chopped nuts like walnuts or almonds for crunch and extra protein.
Mint Chocolate Chip Protein Balls
Ingredients You’ll Need:
- 1 cup rolled oats
- 1/2 cup vanilla or unflavored protein powder (whey or plant-based)
- 1/4 cup natural almond butter or peanut butter
- 1/4 cup honey or maple syrup
- 2 tbsp ground flaxseed or chia seeds
- 1/4 cup mini dark chocolate chips
- 1/4 tsp peppermint extract
- 1/2 tsp vanilla extract
- 2 tbsp milk (dairy or plant-based), more as needed
- Optional: a pinch of salt
- Optional garnish: crushed cacao nibs or extra mini chocolate chips
- Fresh mint leaves (for serving/garnish)
How Much Time Will You Need?
This recipe takes about 10 minutes to prepare and 30 minutes to chill. The easy mixing and rolling process makes this a quick snack to put together, and chilling helps the protein balls set perfectly before enjoying.
Step-by-Step Instructions:
1. Mix Dry Ingredients
In a large bowl, combine the rolled oats, protein powder, ground flaxseed or chia seeds, and a pinch of salt if you like. Stir these together until well mixed.
2. Add Wet Ingredients
Add the almond or peanut butter, honey or maple syrup, peppermint extract, and vanilla extract to the dry mixture. Stir to combine everything evenly.
3. Form the Dough
Slowly add the milk, one tablespoon at a time, stirring constantly. Keep adding milk until the dough is sticky enough to hold together without being too wet.
4. Add Chocolate Chips
Fold the mini chocolate chips into the dough gently so they distribute evenly throughout the mixture.
5. Shape the Protein Balls
Using your hands or a small cookie scoop, form the dough into bite-sized balls, about 1 inch in diameter.
6. Optional Topping
If you like, roll the balls in crushed cacao nibs or extra mini chocolate chips for extra crunch and chocolate flavor.
7. Chill and Serve
Place the balls on a parchment-lined plate or tray, and chill them in the fridge for at least 30 minutes to firm up. When ready, serve chilled with fresh mint leaves for a pretty and fresh touch.
8. Storage
Store any leftover protein balls in an airtight container in the refrigerator for up to a week. They stay delicious and fresh for quick snacking later!
Can I Use Frozen Protein Balls?
Yes! You can freeze these protein balls for up to 3 months. Just thaw them in the fridge for a few hours before eating to soften them up.
Can I Substitute Nut Butter?
Absolutely! Sunflower seed butter or tahini work well if you have nut allergies or want a different flavor.
How Do I Adjust Sweetness?
If you’d like them sweeter, add a bit more honey or maple syrup. For less sweetness, reduce the amount or use unsweetened protein powder.
What’s the Best Way to Store These Protein Balls?
Keep them in an airtight container in the fridge for up to a week. For longer storage, freeze and thaw before enjoying.