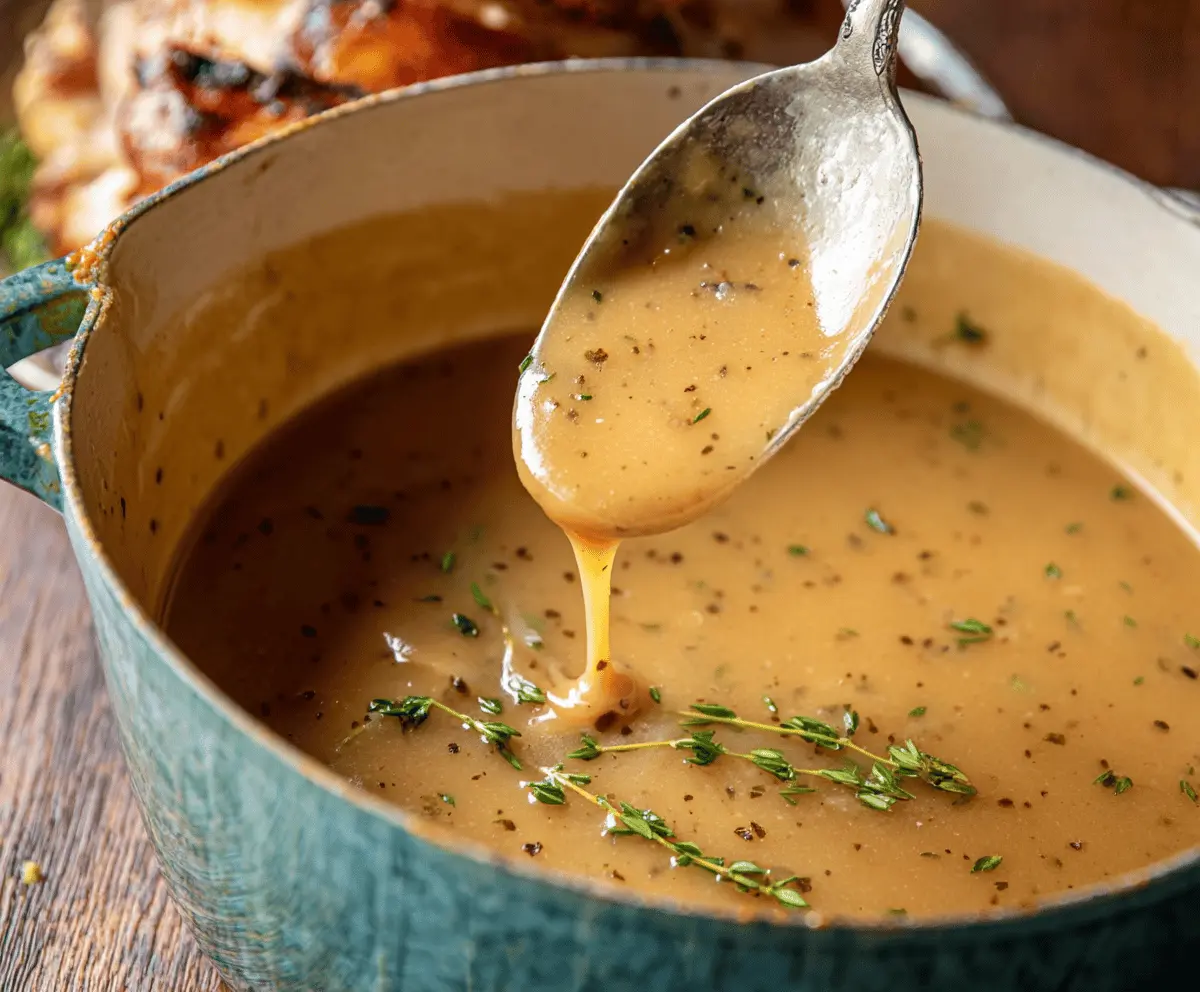
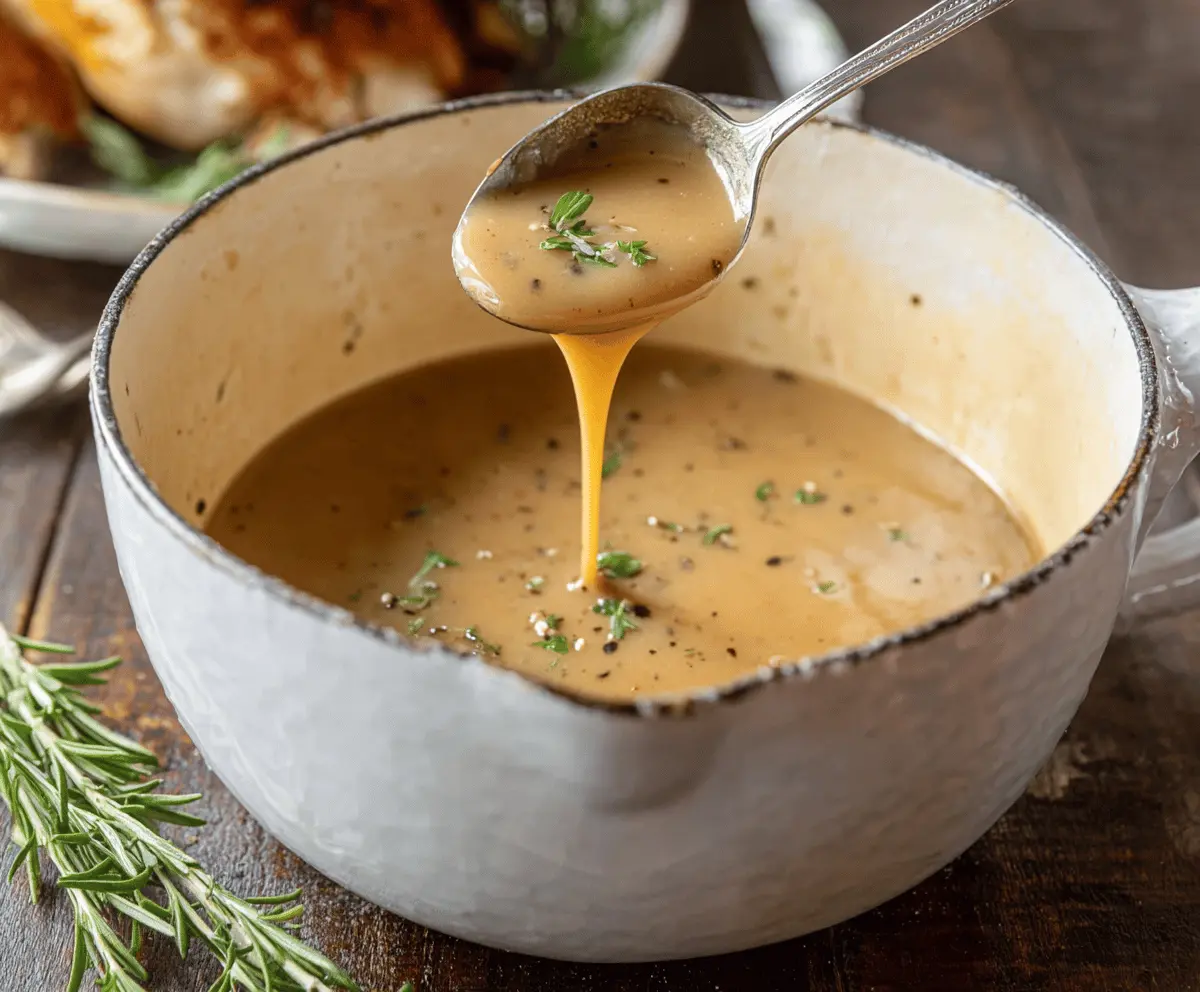
Perfect Turkey Gravy is exactly what you need to make your meal complete. It’s rich, smooth, and full of that deep, comforting flavor that comes from all the drippings and juices of a well-roasted turkey. This gravy has just the right thickness, making every bite of turkey, mashed potatoes, or stuffing even better.
I love making this gravy because it’s simple but really brings everything on the plate together. I usually start with the pan drippings and add just enough broth and flour to get that silky texture. It feels like a little magic turning those leftover bits into something so delicious and special.
When I serve this turkey gravy, I like to pour it generously over everything on my plate. It’s one of those things that makes a holiday meal feel cozy and complete. If you haven’t tried making your own gravy from scratch, this is the one to start with—it’s my go-to for making any turkey dinner feel like you’re really celebrating.
Key Ingredients & Substitutions
Turkey Drippings: These are the heart of your gravy, packed with flavor. If you don’t have drippings, use turkey or chicken broth for a milder base. Vegetable broth can work too in a pinch, but the taste won’t be as rich.
Butter: Unsalted butter helps control saltiness. You can swap it for olive oil or a vegan butter if you need a dairy-free option; the flavor will be different but still good.
Flour: The flour thickens your gravy. For a gluten-free swap, try cornstarch or a gluten-free flour blend. Mix cornstarch with cold water before adding to avoid lumps.
Broth: Using homemade or low-sodium broth is best so you can control salt levels. Store-bought broth is fine; just taste before adding salt.
Thyme: Fresh thyme adds a lovely herbal note. Dry thyme works too but use about half as much. You can also try sage or rosemary for a different twist.
How Do I Make Smooth, Lump-Free Gravy Every Time?
Making gravy without lumps can be tricky, but a good roux is the key. Start by melting butter and whisking in flour over medium heat. Cook it a few minutes to remove the raw flour taste—look for a golden color and nutty smell.
Then, add your broth slowly, whisking constantly. This prevents lumps from forming. Keep stirring as the gravy thickens, and don’t rush the process—gentle simmering helps everything come together smoothly.
If lumps appear, don’t panic! Whisk vigorously or strain the gravy through a fine mesh sieve for a silky finish. With practice, you’ll get a perfect, creamy gravy every time.
Equipment You’ll Need
- Medium saucepan – I like it because it heats evenly and is just the right size for making gravy.
- Whisk – keeps the sauce smooth and prevents lumps when adding broth.
- Measuring cups and spoons – handy for portioning the drippings, broth, and flour.
- Fine mesh sieve – optional, but great for straining the gravy for a silky finish.
Flavor Variations & Add-Ins
- Stir in a splash of white wine or sherry for a richer, deeper flavor.
- Add chopped fresh rosemary or sage instead of thyme to change the herb profile.
- Mix in a small amount of Dijon mustard or a dash of Worcestershire sauce for extra savory notes.
- Swirl in a spoonful of sour cream or heavy cream for an extra creamy, luxurious gravy.
Perfect Turkey Gravy
Ingredients You’ll Need:
For the Gravy:
- 1/4 cup turkey drippings (from the roasted turkey)
- 1/4 cup unsalted butter
- 1/4 cup all-purpose flour
- 4 cups turkey or chicken broth (homemade or low sodium store-bought)
- 1/2 teaspoon salt (adjust to taste)
- 1/2 teaspoon freshly ground black pepper
- 1 teaspoon fresh thyme leaves (or 1/2 teaspoon dried thyme)
- Optional: a splash of heavy cream for richness
How Much Time Will You Need?
This gravy recipe takes about 15 minutes from start to finish. The prep involves gathering your turkey drippings and whisking the roux, and the cooking time just needs a few minutes to thicken and develop flavor. It’s a quick and easy way to add that perfect finishing touch to your turkey dinner.
Step-by-Step Instructions:
1. Collecting the Pan Drippings:
Once your turkey is done roasting, pour the juices and drippings from the pan into a fat separator or measuring cup. Let it sit for a few minutes so the fat floats to the top. You’ll use about 1/4 cup of this fat for your gravy, so carefully scoop that out and save the rest if you want.
2. Making the Roux:
In a medium saucepan, heat the reserved fat over medium heat. Add the butter and let it melt completely. Then whisk in the flour, stirring constantly. Cook this mixture for 2 to 3 minutes, whisking often, until it turns a light golden brown and gives off a nutty aroma. This is your roux, and it helps thicken the gravy without lumps.
3. Adding Broth and Seasoning:
Slowly whisk in the turkey or chicken broth bit by bit, making sure you whisk constantly to avoid lumps. Bring the liquid to a gentle simmer; the gravy will start to thicken as it heats. Stir in salt, pepper, and thyme leaves, then keep cooking and stirring occasionally for about 5 to 7 minutes, until it reaches your desired thickness.
4. Finishing Touches:
Give the gravy a taste and adjust salt or pepper if needed. For extra creaminess, add a splash of heavy cream and stir it in well. Finally, for a super smooth texture, strain the gravy through a fine mesh sieve into a serving dish. Serve your delicious turkey gravy hot, drizzled generously over your turkey, mashed potatoes, or stuffing. Enjoy!
Can I Make Turkey Gravy Without Pan Drippings?
Yes! If you don’t have drippings, use turkey or chicken broth instead. The flavor will be milder but still tasty. You can also add a bit of soy sauce or Worcestershire sauce for extra depth.
How Do I Thicken Gravy If It’s Too Thin?
Mix a small amount of flour or cornstarch with cold water to create a slurry, then whisk it into the simmering gravy. Stir constantly until it thickens to your liking.
Can I Make Turkey Gravy Ahead of Time?
Absolutely! Make the gravy, cool it completely, and store it in an airtight container in the fridge for up to 3 days. Reheat gently on the stove, whisking occasionally, and add a splash of broth if it gets too thick.
How Should I Store Leftover Gravy?
Keep leftover gravy in a sealed container in the refrigerator for up to 3 days. For longer storage, freeze it in portioned containers for up to 3 months. Thaw overnight in the fridge before reheating.